“Since the upgrade of iOS, I cannot sync new objects from my iPhone 5 to the computer. This is prevented at the backup stage where iTunes freezes on syncing voice memos. Is there any other way to transfer voice memos from iPhone to computer?”
It’s common to use Apple’s Voice Memos app to make voice recordings, such as meeting or lecture recordings. However, when we want to sync voice memos or other things to iTunes playlist for viewing on the computer, sometimes iTunes is not so cooperative. It is more than once that we hear about the complaint about bugs issues happen while using iTunes sync function. Since iTunes has some bizarre shortcomings when it comes to transferring data from iDevice to PC, how to transfer voice memos from iPhone to computer without iTunes?
In order to transfer voice memos from iPhone to PC without iTunes, a practical third-party utility is needed. Here I’ll introduce a good tool to help you quickly and smoothly achieve iPhone voice memos transfer. That’s the professional iOS data recovery software – Leawo iOS Data Recovery, which functions as data transfer, recovery and backup tool at the same time. With it, transferring voice memos from iPhone to computer for backup or for uploading in the future is both OK. Moreover, the iPad/iPod/iPhone data recovery tool can also help you recover voice memos from iPhone by extracting previous iTunes backup, and recover many other deleted files by directly scanning your iOS devices.
It is very easy to transfer iPhone voice memos to computer with Leawo iOS Data Recovery, just feel free to download the trial version to test it first.
Tutorials about how to transfer voice memos from iPhone to computer
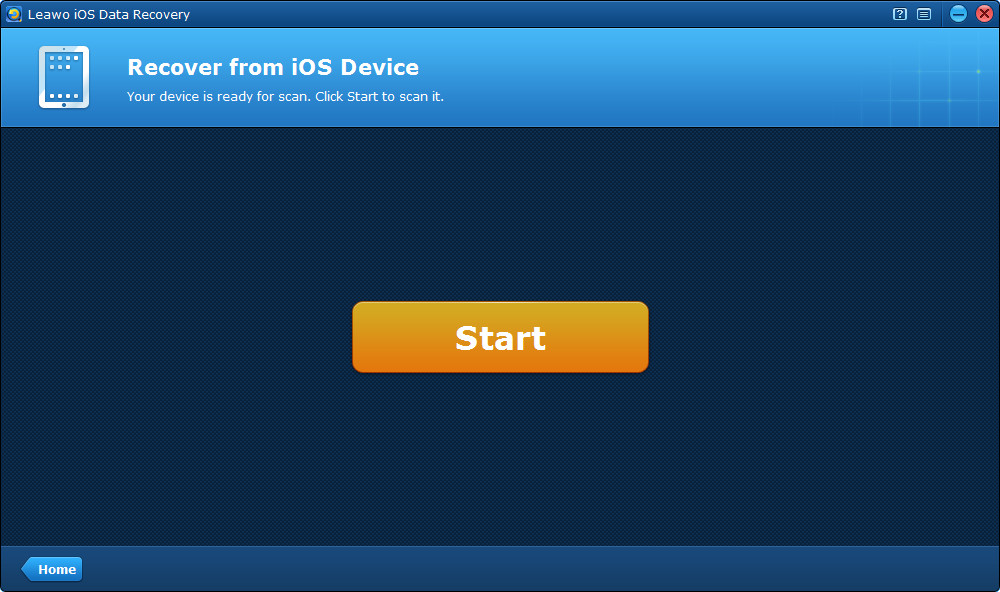
Step 1 Click Start to scan your iPhone
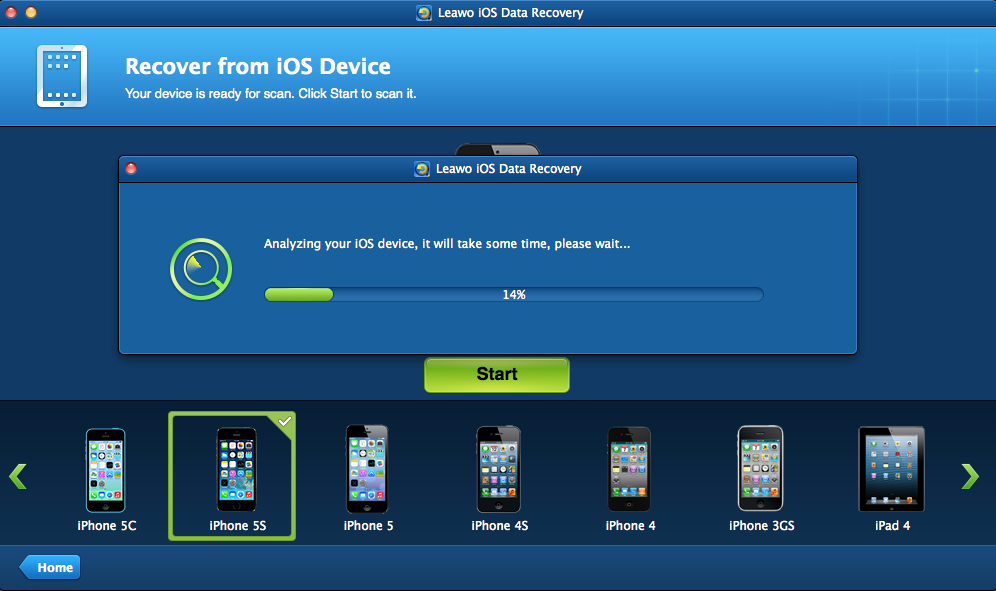
After connecting your iOS device to the computer, run Leawo iOS Data Recovery on your PC. When you see the interface below, it indicates that your device has been recognized by the program, just click the “Start” button.
Step 2 Scan your iPhone for voice memos
Next, the program will perform your command to start to scan your iOS device for voice memos.
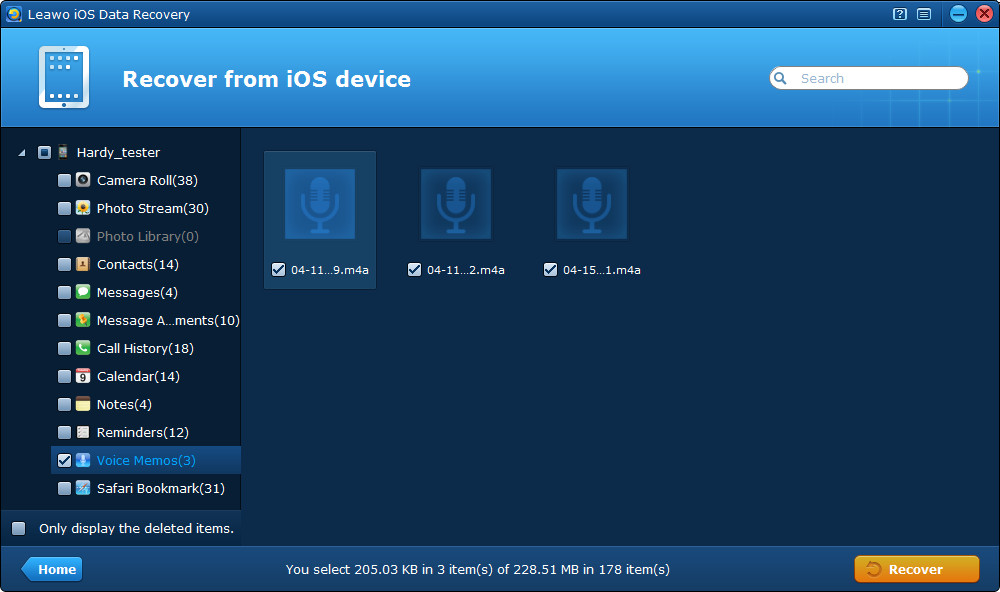
Step 3 Preview voice memos found in the scanning
Then you can preview all the files found from your iPhone, including the voice memos, which end with .m4a. You should tick the files before transferring them to the computer.
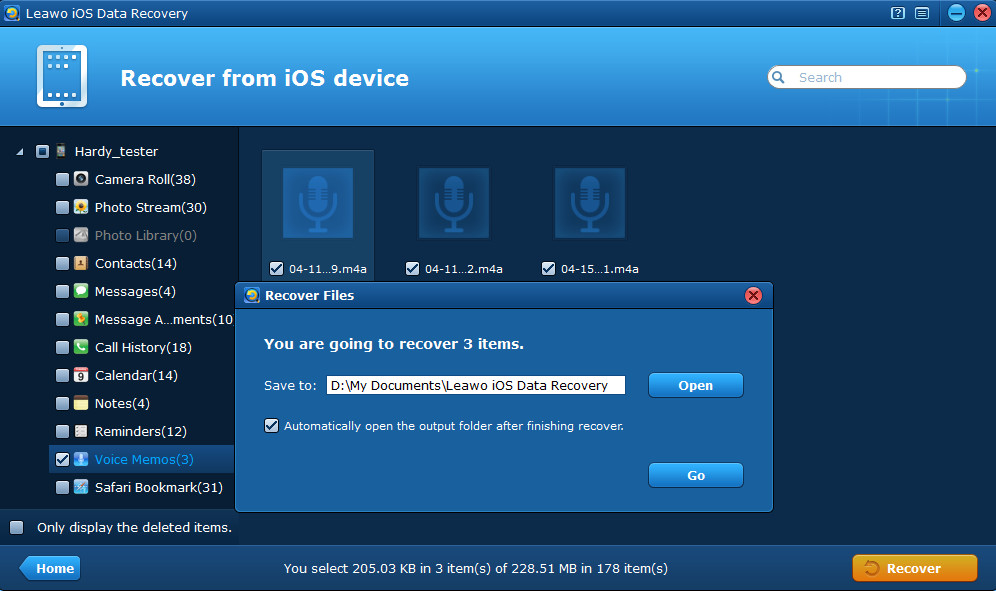
Step 4 Transfer voice memos from iPhone to computer
Lastly, just click “Recover” button on the bottom-right interface to start to transfer iPhone voice memos to computer. Remember to select a file location to save the voice memos to be transferred to the computer.
